Connecting To Coston Test Network | How To Guides
MetaMask Instructions
In MetaMask, select the coloured circle in the top right hand corner of the dialog box.
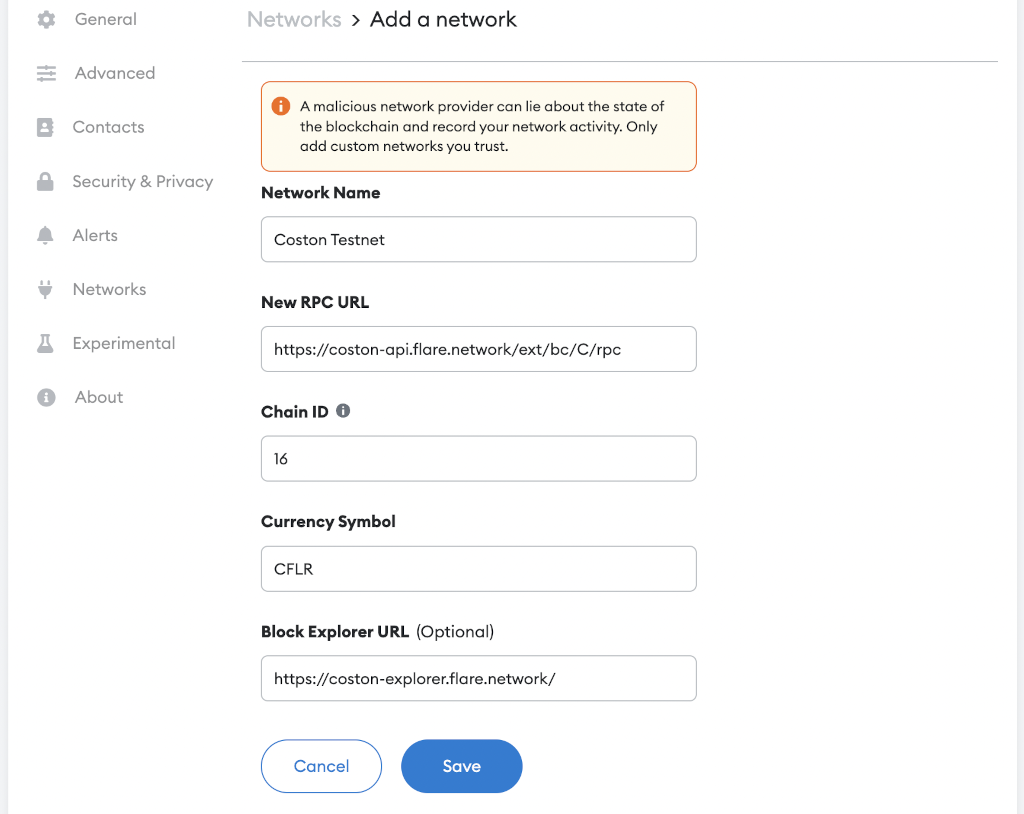
Scroll down to Settings > Network > Add a network.
- Network Name: Coston Testnet
- New RPC URL: https://coston-api.flare.network/ext/bc/C/rpc
- Chain ID: 16
- Currency Symbol: CFLR
- Block Explorer URL: https://coston-explorer.flare.network/
If you copy and paste from the above, make sure you don't grab any extra spaces, specifically on the New RPC Url line.
Your dialog box should look like this.

Hit "Save", and you're now connected to the Coston Test Network.
Adding WCFLR
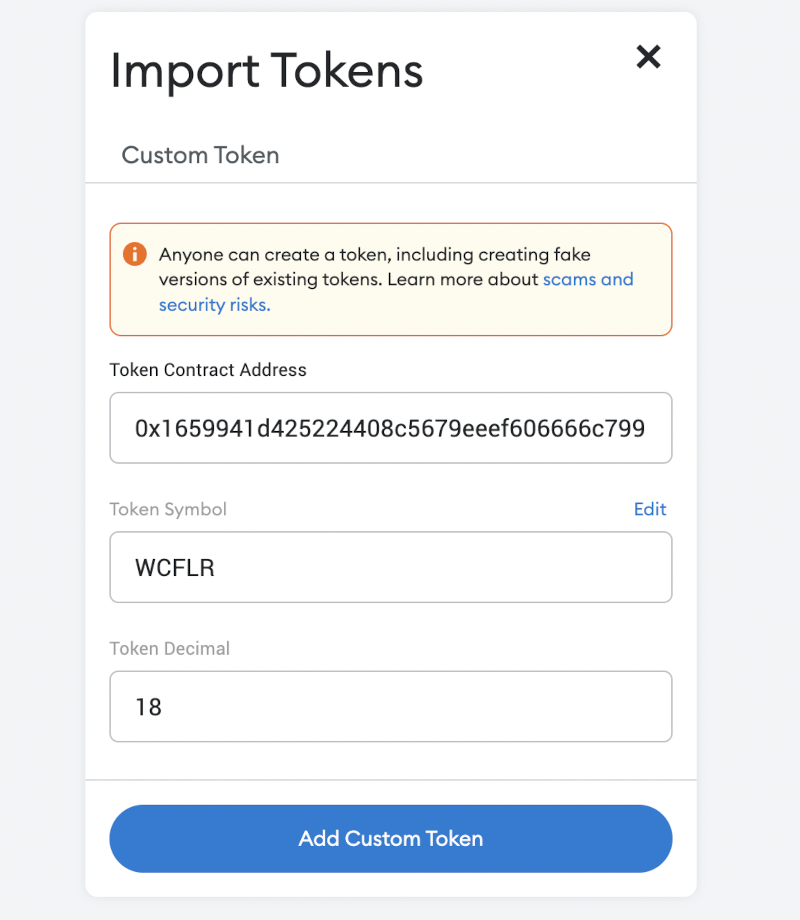
To add WCFLR, you'll need to "Import Token".
The Contract Address is 0x1659941d425224408c5679eeef606666c7991a8A
Token Symbol and Token Decimal will both automatically populate with WCFLR and 18.
Your dialog box should look like this.

Hit the "Add Custom Token" and you're done.
Getting Some Gas
Now to add some gas for performing transactions.
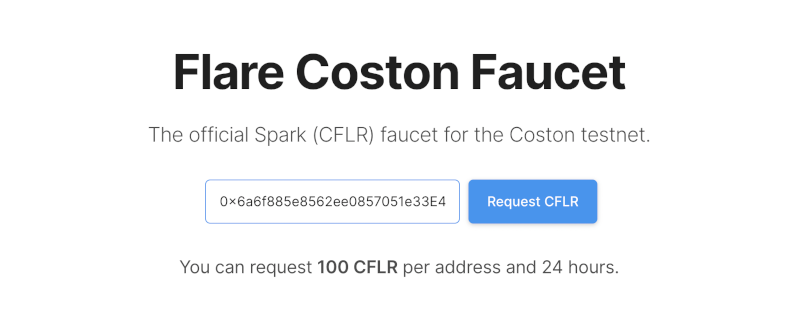
First, copy your wallet address, then visit the faucet https://faucet.towolabs.com/ and enter it in the field provided.

Hit the "Request CFLR" button and you'll soon receive 100 tokens. There's a claim limit of 100 every 24hrs.
Now you're all set to interact with any dApps on the Coston Test Network.